

🧿 Product guide
Build a Raksha Bandhan page your sister ties herself
A brother fills this one in: her name, the vow, the statement of account, and the shagun in the lifafa. She picks the rakhi and ties it herself, on her own phone, with a press and hold. This guide walks every field in the builder and then shows exactly what she sees when the link opens.
Watch
The whole build, end to end
This recording has no voiceover — every action is labelled on screen as it happens. Click a chapter to jump the video there. To read that step instead, use the ↓ beside it — the written walkthrough is below.
Step by step
The written walkthrough
Everything the video covers, in a form you can search, scan and keep open in another tab.
Open the builder
Nothing here is saved to your account until you publish, so you can open it and poke around without committing to anything.
Step 1.1
Find the template and press Create
From Templates, open Happy Raksha Bandhan — the sister-side card, the one whose preview line reads “Your brother sent you a rakhi to tie”. Press Create to open the form.
There are two Raksha Bandhan templates and they are not recolours of each other. This one is filled in by a brother. If you are a sister building for your brother, you want the other one — there is a guide for it too, linked at the foot of this page.
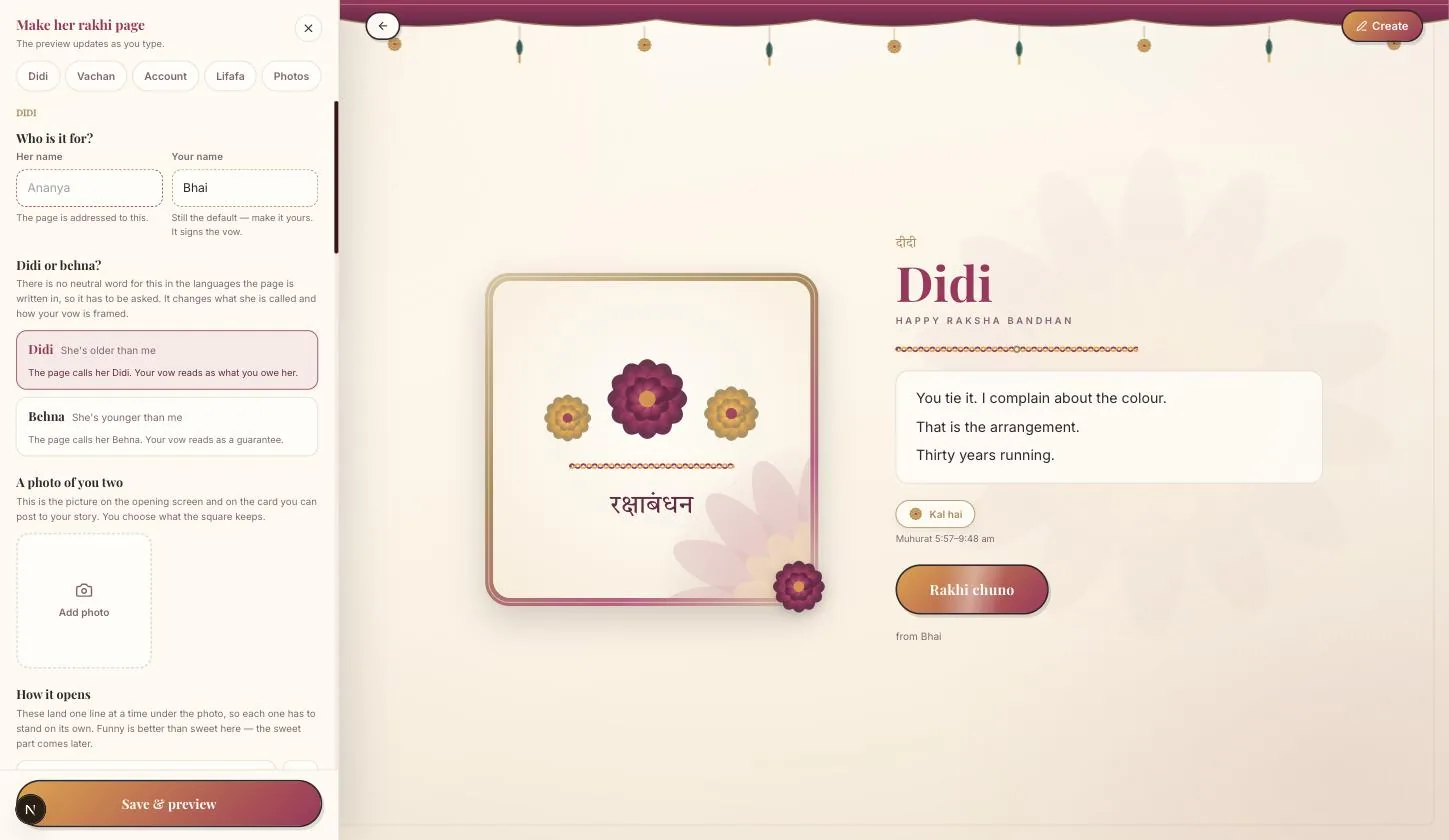
Step 1.2
You do not need an account yet
The form works signed out. You are asked to sign in once, at the moment you publish, and everything you have typed carries across the sign-in — nothing is lost.
Her name, your name, and what you call her
Step 2.1
Fill the two names
Her name is what the page greets her by and what the share link previews with. Yours signs the vow at the bottom.
Step 2.2
Pick Didi or Behna
This one word is used throughout the finished page — in the greeting, on the certificate, and in the letter. Pick whichever you actually call her; that is the whole point of the field.
Her photo, and getting the crop right
Step 3.1
Add a photo of her
Press Add photo and choose one. It lands in a round frame at the top of her page, so faces near the centre survive the crop and group shots generally do not.
Step 3.2
Drag to zoom, drag to reposition
The crop control is live — what you see in the little circle is exactly what she will see. Adjust it now rather than after publishing.
The opening line
Step 4.1
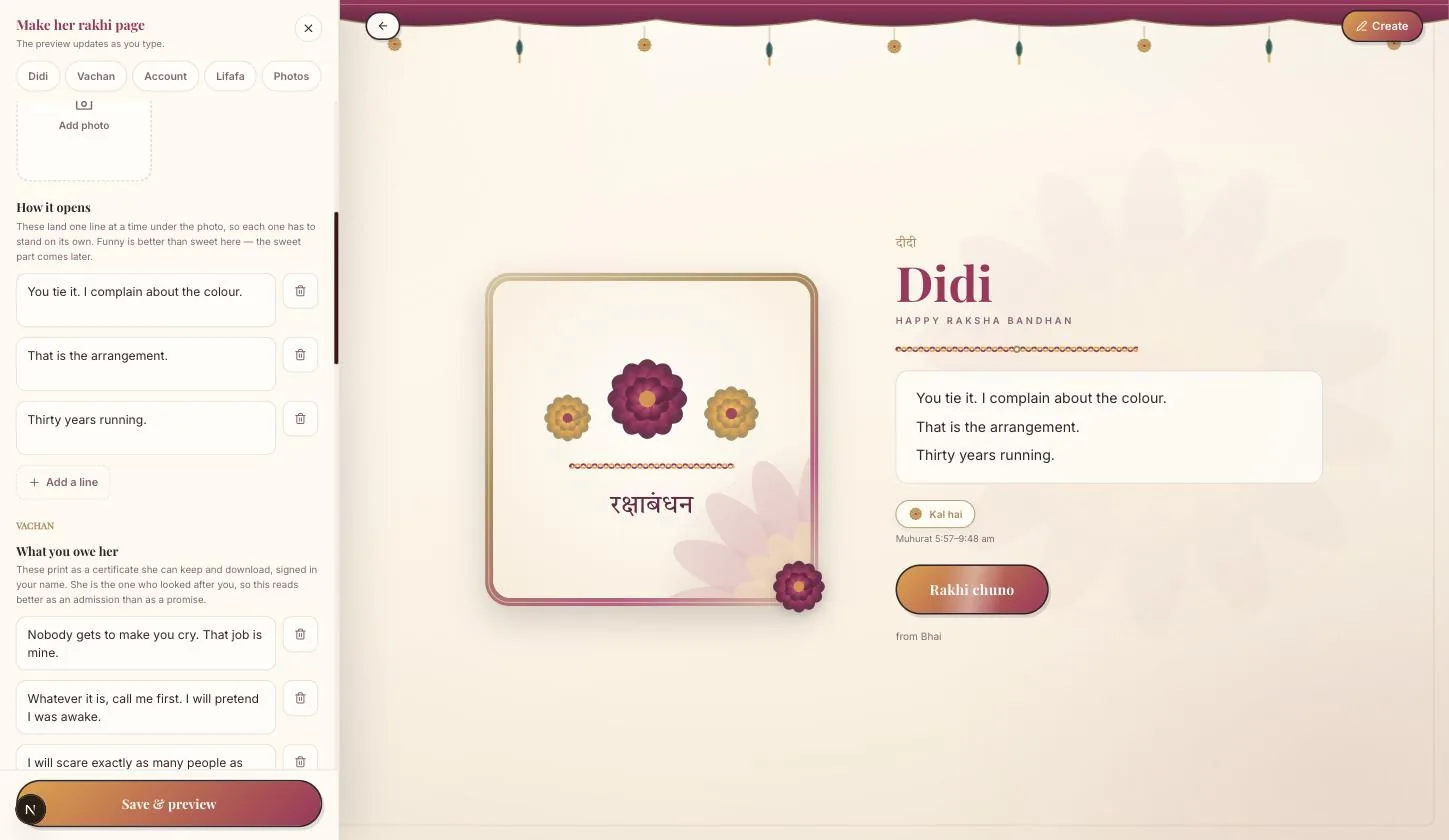
Choose one of the three, or write your own
Three opening lines are offered. They set the register for everything under them — one is warm, one is funny, one is plain. Click the one that fits, or type over it.
The vow, since when, and the letter
This is the part she will read twice. It is worth the extra minute.
Step 5.1
Write the vow
A single promise, in your words. It is printed on a certificate she can turn over, and your name is signed under it.
Step 5.2
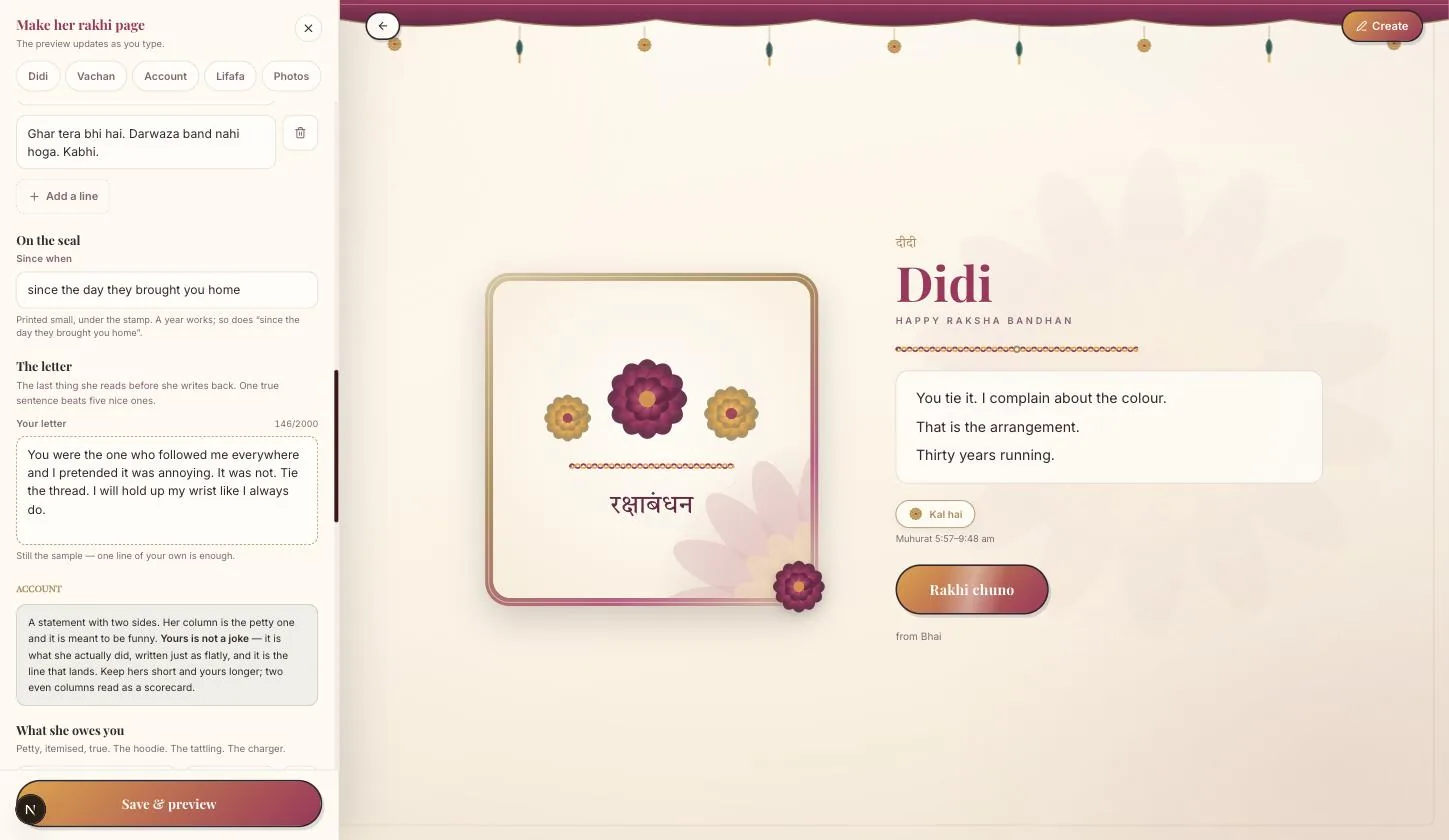
Set since when
The year you want the page to count from — usually her birth year or yours. The finished page renders it as a running count of years.
Step 5.3
Write the letter
Longer than the vow and less formal. Specifics beat sentiment here: one real thing she did lands harder than three lines about how much she means to you.
The statement of account
Step 6.1
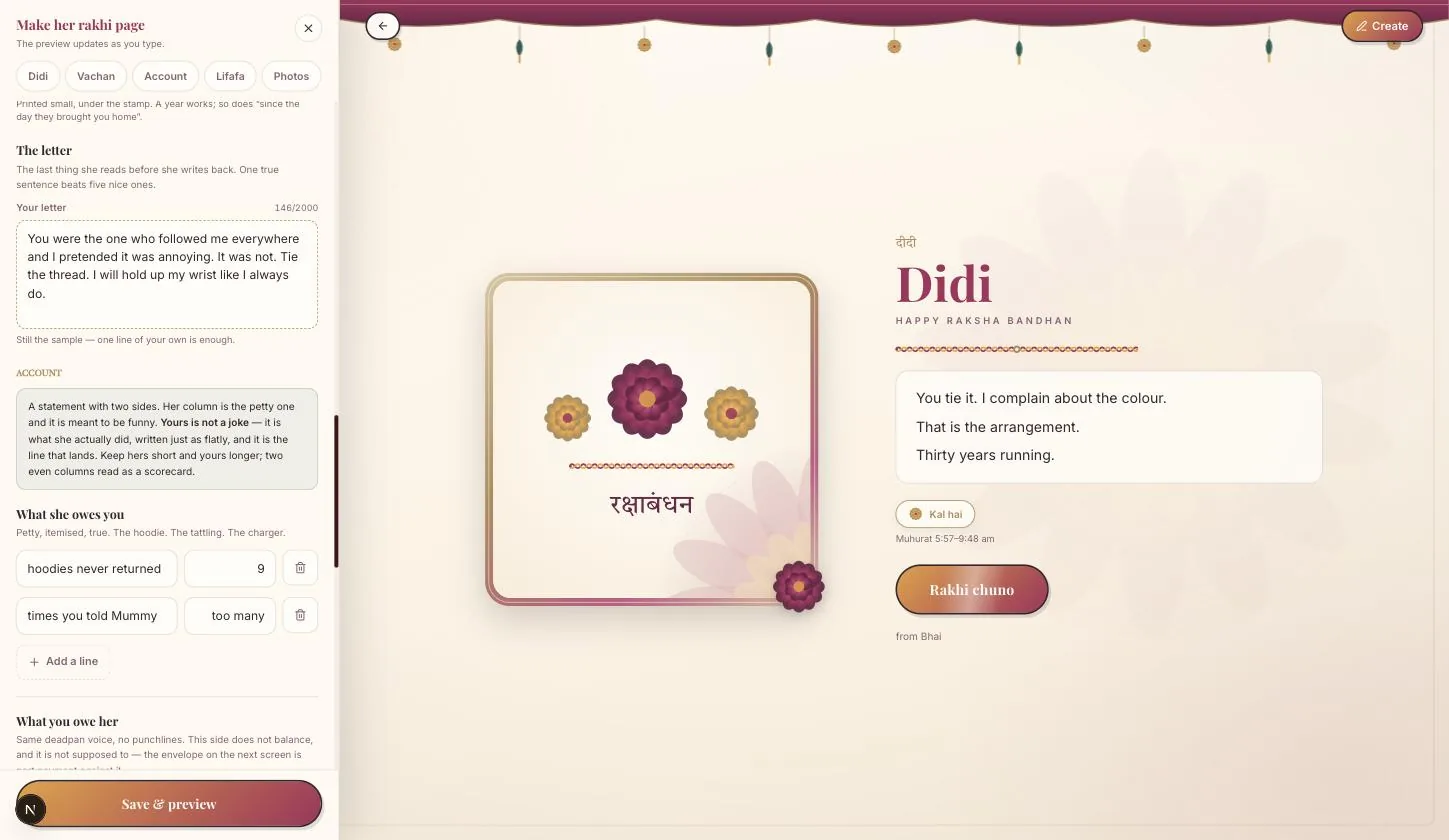
Fill both columns
Two columns, side by side: what she owes you — hoodies never returned, chargers taken hostage — and what you owe her. Itemise both honestly.
It is not meant to balance, and the page does not try to make it. The joke only works if your column is visibly, unarguably longer.
The lifafa and the password
Step 7.1
Put the shagun in the lifafa
Type the amount you are giving her. It appears inside an envelope she opens on her side.
There is no payment QR on this template, and that is deliberate rather than missing. A QR encodes a payee — putting one here would ask your sister to pay you. The money is going the other way, so the amount is stated and the transfer happens however you already send her money. The brother-side template does have a UPI field, because there the flow runs the other way round.
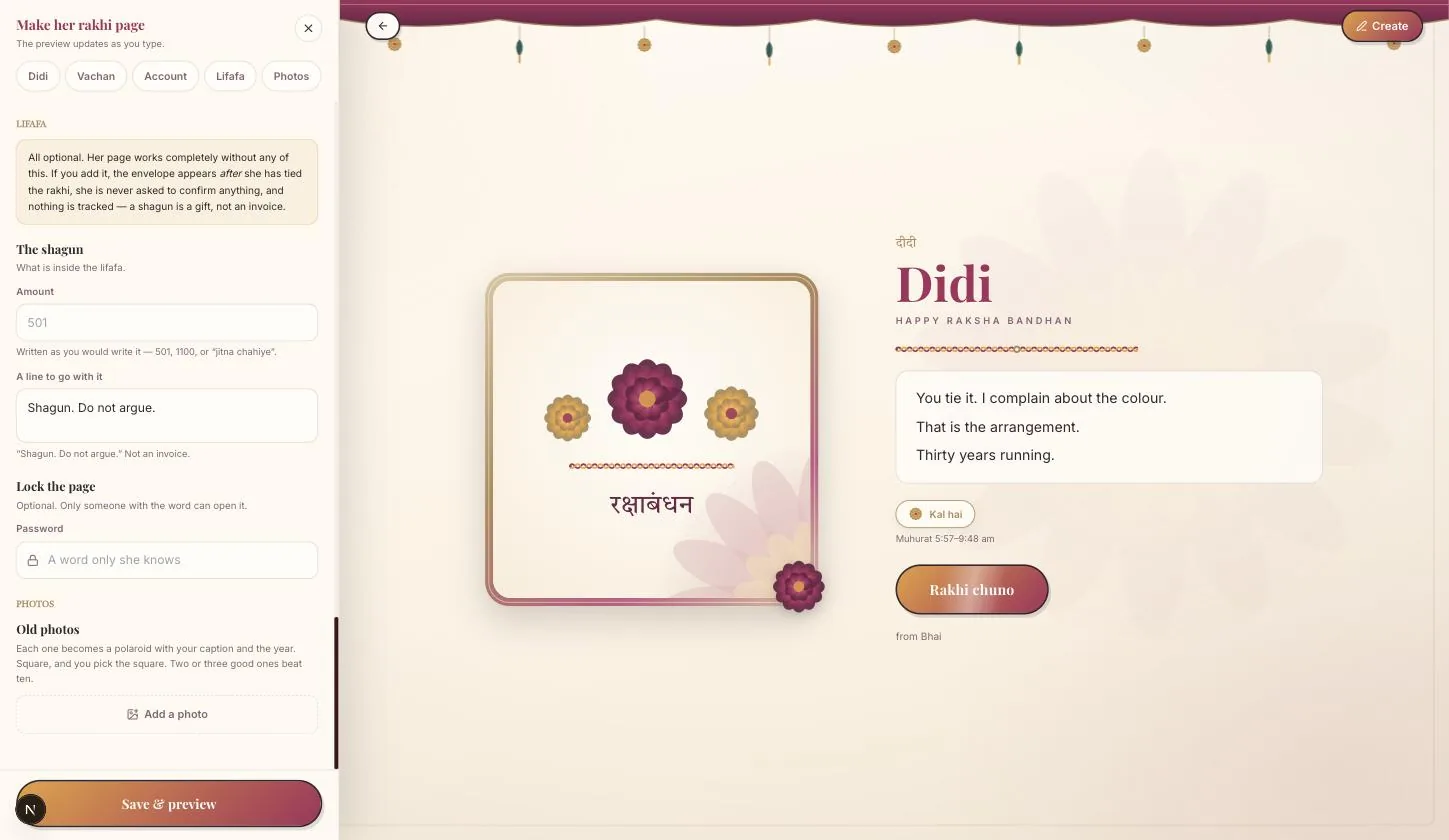
Step 7.2
Set a password if you want one
Optional. With it set, anyone opening the link is asked for it first — worth it if you are sending through a family group where the link will get forwarded.
Your three photos
Step 8.1
Add three, with a caption and a year each
Old ones work better than recent ones. The year is displayed, so a badly guessed year is more noticeable than no year — leave it blank if you are unsure.
Save and preview
Step 9.1
Press Save
This shows you the finished page as she will get it. Nothing has been published yet and no link exists — you can go back and edit any field.
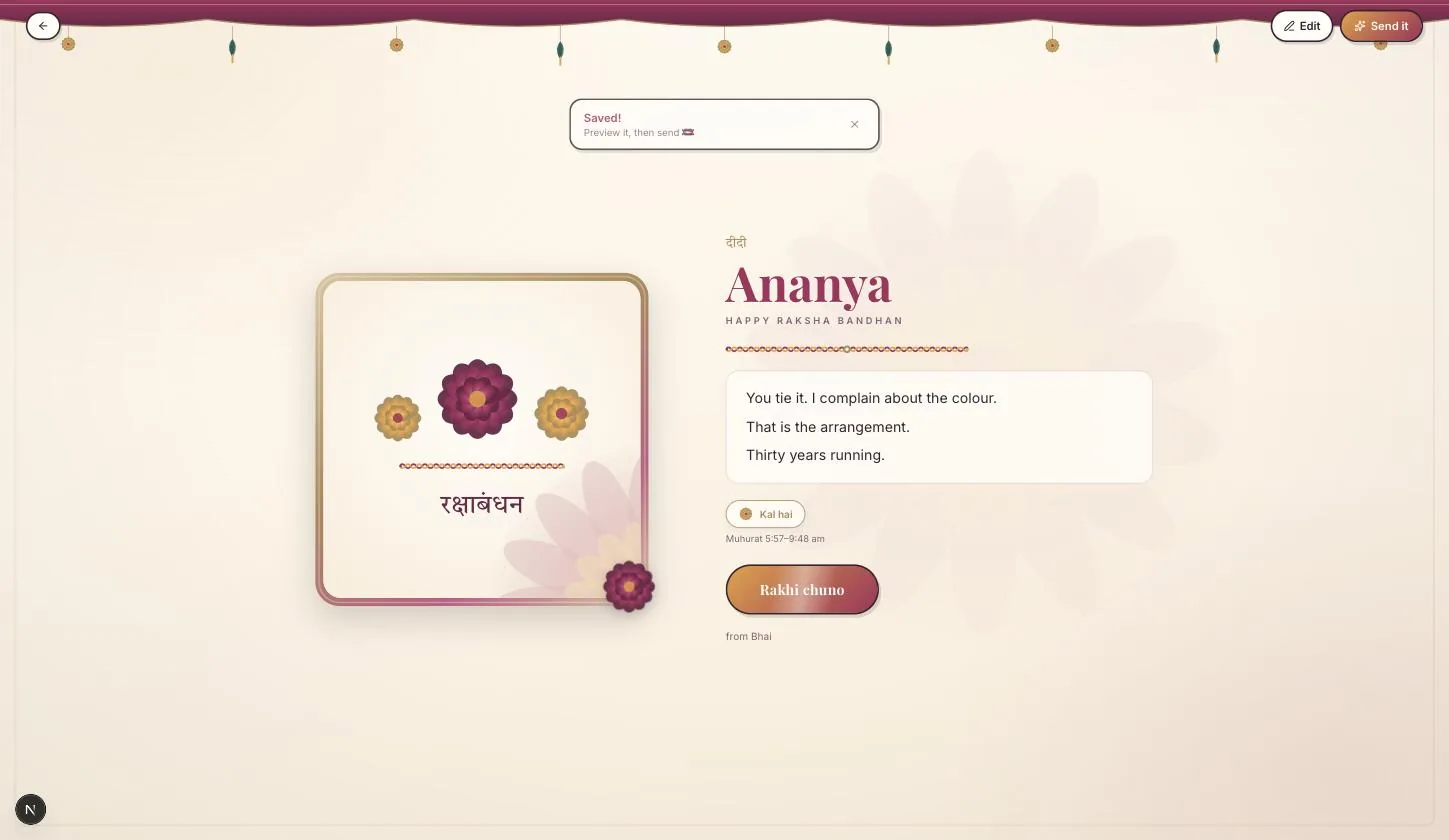
What she actually sees
Worth watching in the video rather than reading — this is the half that is hard to describe and obvious on sight. It runs from 00:57.
Step 10.1
She picks her own rakhi
The rakhi is not chosen by you. She is shown the options and picks the one she wants, because she is the one tying it.
Step 10.2
She presses and holds to tie it
A press-and-hold, not a tap. The thread draws itself around the wrist while she holds, which is the moment the whole page is built around.
Step 10.3
Then the certificate, the account, and the lifafa
She turns the certificate over to read your vow, reads both columns of the statement, and opens the envelope. She can write back once, and her reply comes to you.
Publish and send
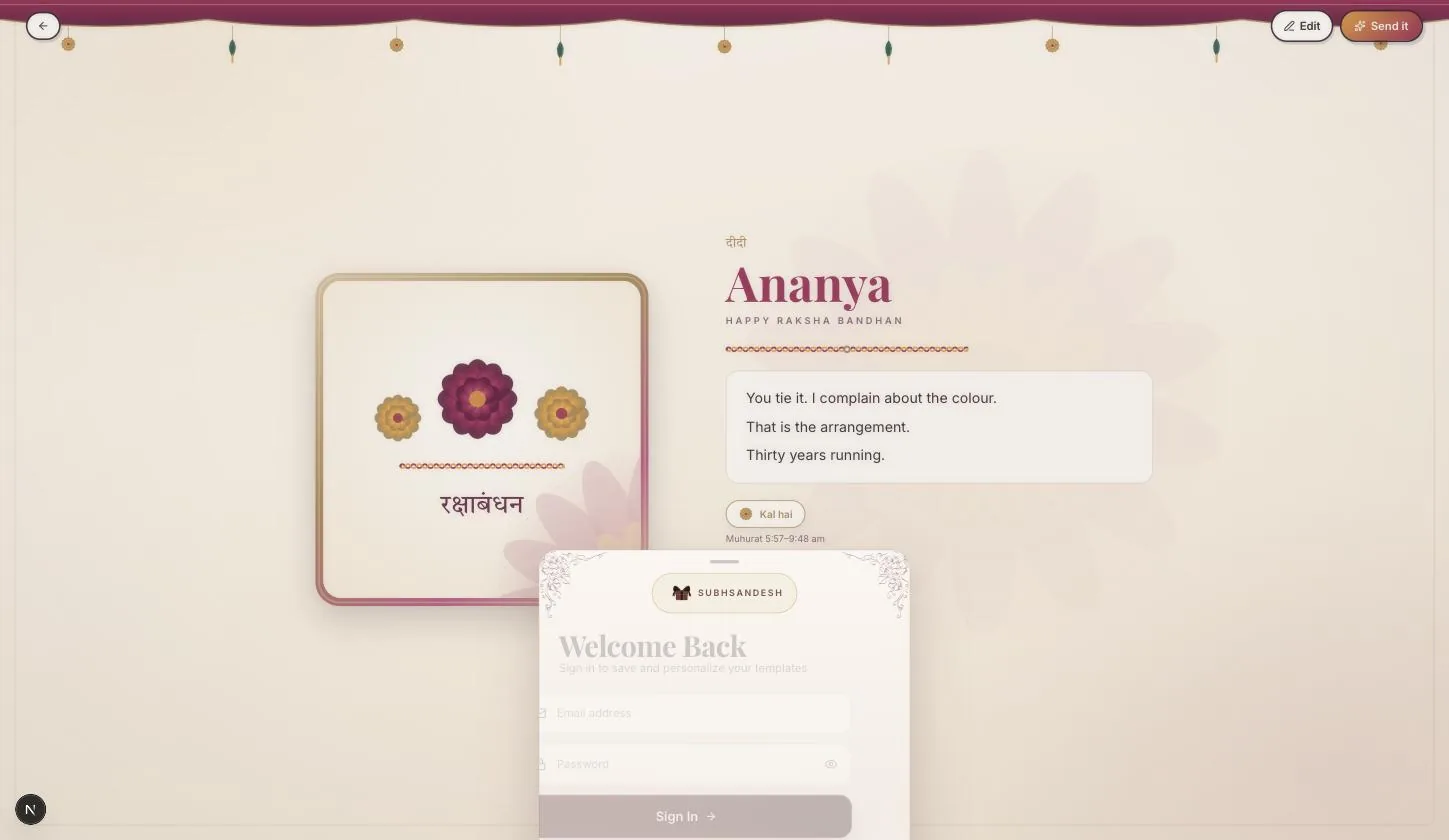
Step 11.1
Press Send it
If you are signed out you are asked to sign in here, and the page publishes itself immediately afterwards — you do not have to fill anything in again.
Sign in with Google on a phone is a full-page redirect rather than a popup. Let it finish and come back on its own; if you close the tab mid-redirect the publish does not complete and you will land back on the form.
Your turn
About 6 minutes, and it is done.
You do not need an account to start — you are asked to sign in once, at the moment you publish.
Open Happy Raksha BandhanQuestions
What people ask about this one
Why is there no payment QR on this template?
Because a QR code encodes a payee, and on this page the money moves from you to your sister. A QR here would be asking her to pay you. The shagun amount is stated inside the lifafa and you send it however you normally would. The brother-side template does carry a UPI field, because there the shagun travels in the opposite direction.
Can she open it on a laptop?
Yes, though it is built for a phone. The press-and-hold that ties the rakhi works with a mouse held down, but the page is composed for a portrait screen and that is where it looks right.
Can I change something after I have sent the link?
Yes. Profile → My Creations → the card → Edit. The link does not change, so she sees the corrected version even if she opened the old one already.
Does she need an account to open it?
No. She needs the link, and the password if you set one. Nothing else.
How long does the whole thing take?
About six minutes if you have her photos ready. The letter and the statement of account are where the time actually goes.
Keep going
Other guides
From the blog
Related reading
Written around the same occasion, if you want the words before the build.
Indian Festivals
Happy Raksha Bandhan Wishes With Name: Where the Name Goes
Where the name goes in a Raksha Bandhan wish, and which name to use: opening address versus sign-off, bhai ver…
Indian Festivals
Write a Name on a Happy Raksha Bandhan Photo So It Stays Readable
Every name-on-photo generator ignores whether the result can actually be read. Contrast thresholds, cap height…
Indian Festivals
Happy Raksha Bandhan Replies to Sister, by What She Sent
A good Raksha Bandhan reply answers in the register she used, names the delay if you are late, and adds one de…